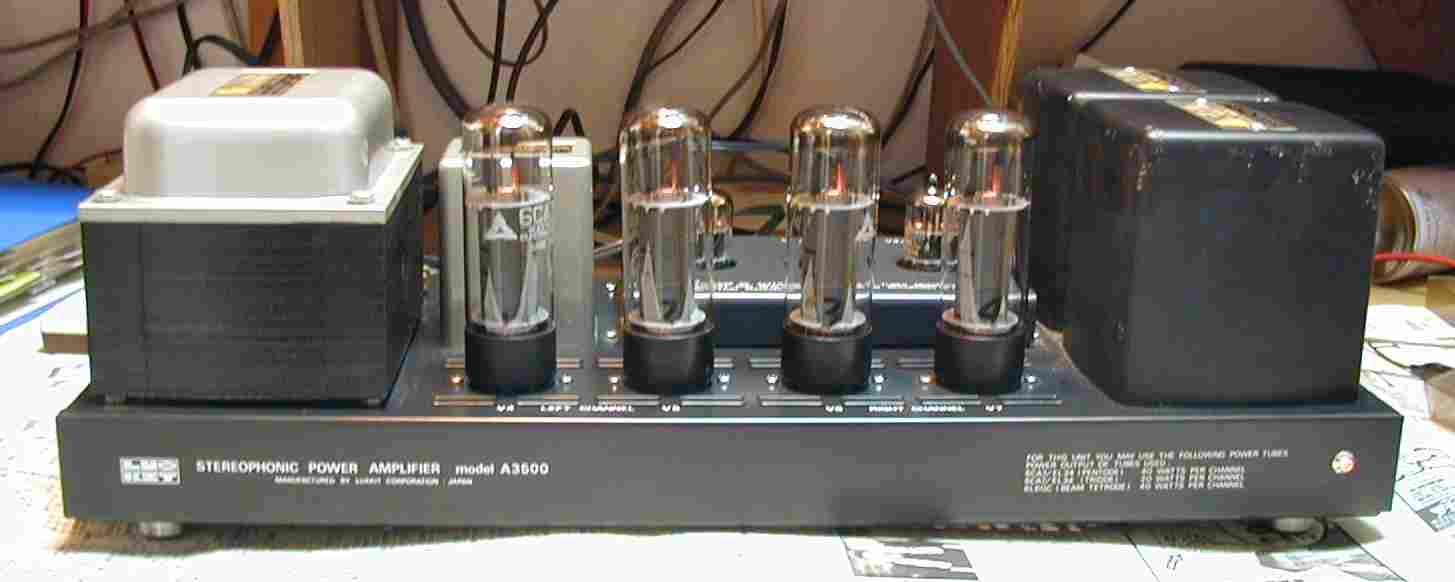
| LUXMAN A3500 6CA7PP修理記録 |
| 平成13年10月 |
|
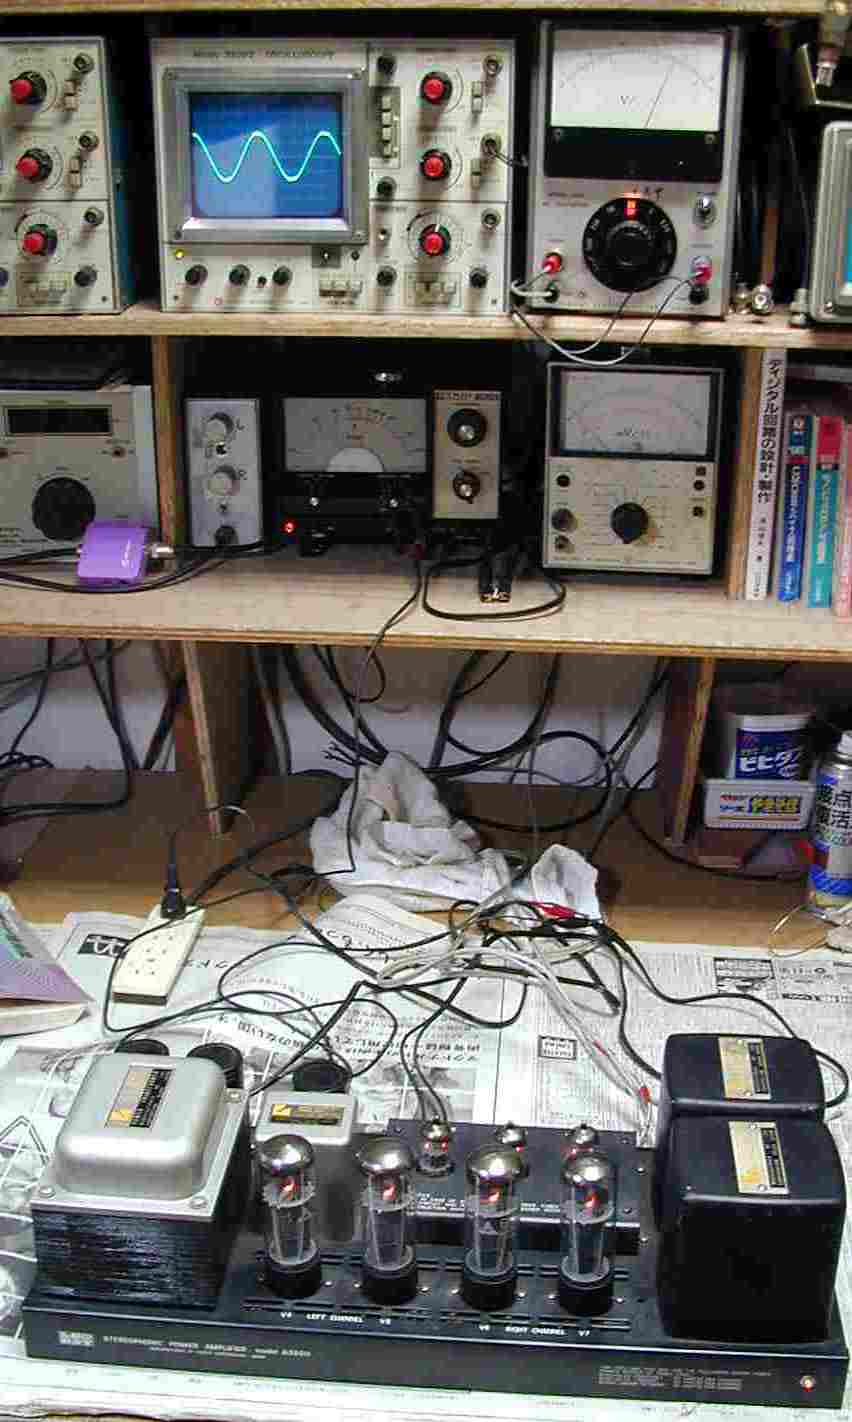
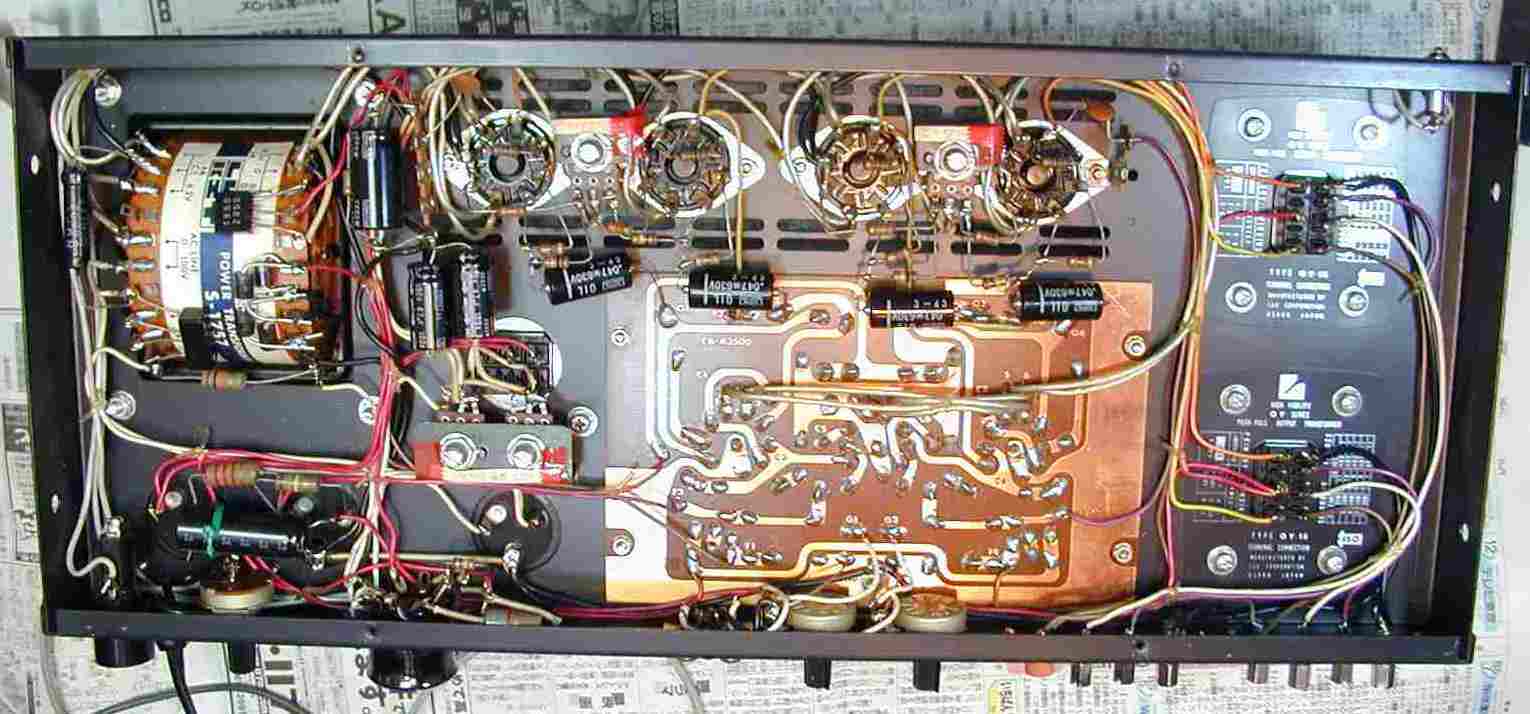
| 1.上蓋を開けた所 |
 |
| 2.出力測定 |
 |
| 3. 11.7V=17Wでクリープ、6CA7のエミ減 |
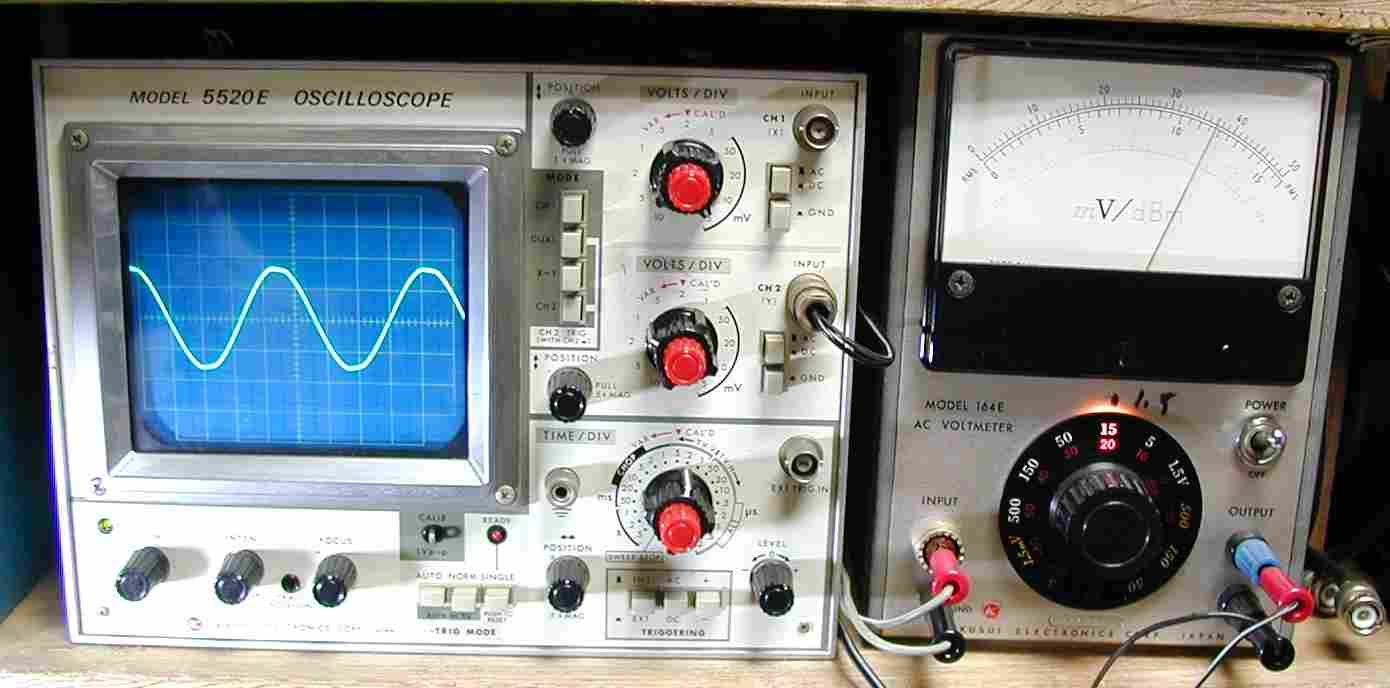 |
| 4.手持品で測定。 13.5V=22.8W。 良い球では30W位出る |
 |
| 5.古い整流ダイオード、熱で変色 |
 |
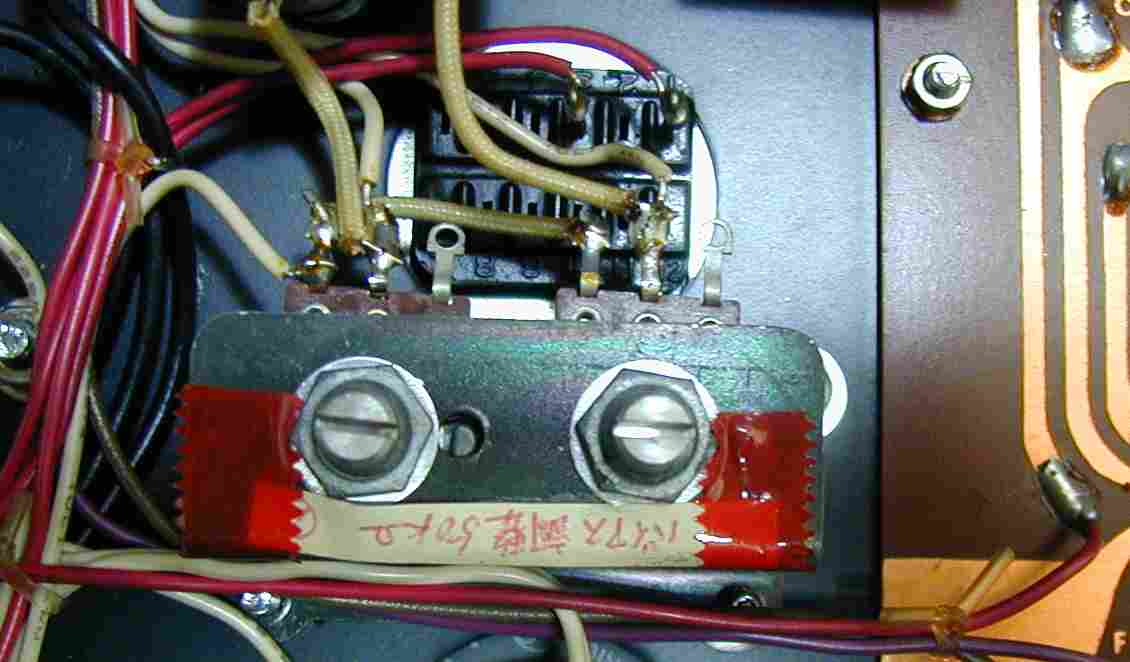
| 6.バイアス調整用VR、片側配線していない、制作者はまだまだ未来がありますね! |
 |
| 7.ダイオード交換、VR対策後 |
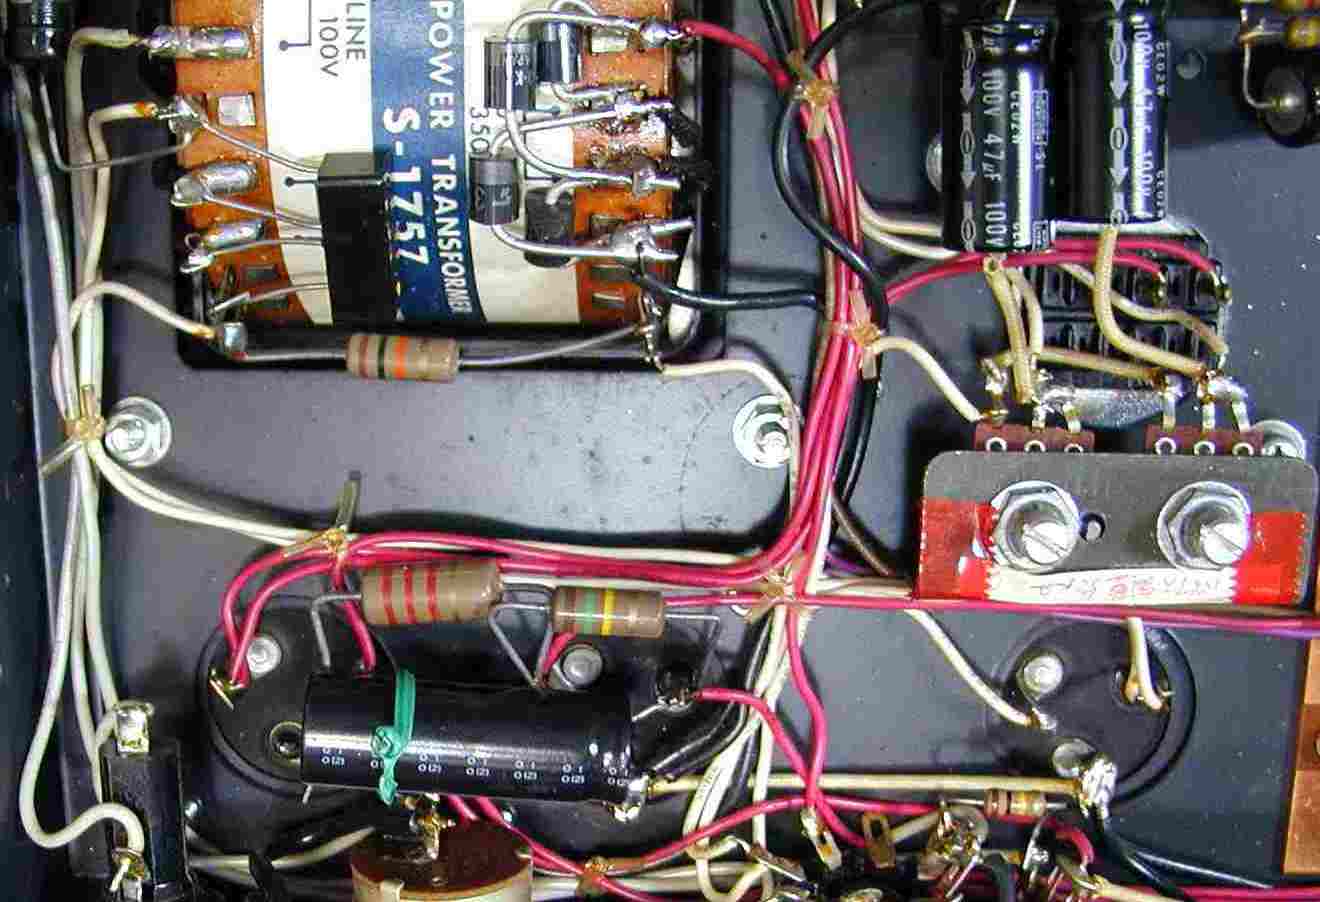 |
| 8.電解コンデンサー増設、修理完了後のシャーシ下 |
 |
| 9. 12時間エージング |
 |
| |
| ここに掲載された写真は、修理依頼者の機器を撮影した物です、その肖像権・版権・著作権等は、放棄しておりません。 写真・記事を無断で商用利用・転載等することを、禁じます。 Copyright(C) 2021 Amp Repair Studio All right reserved. |